
(I apologize for the poor quality of the pictures. My workspace is in my laundry room and these were taken on a very grey and dark day.)

Now that you're little saint is dry and wrinkle free, place him/her face down on the right side of the backing material.
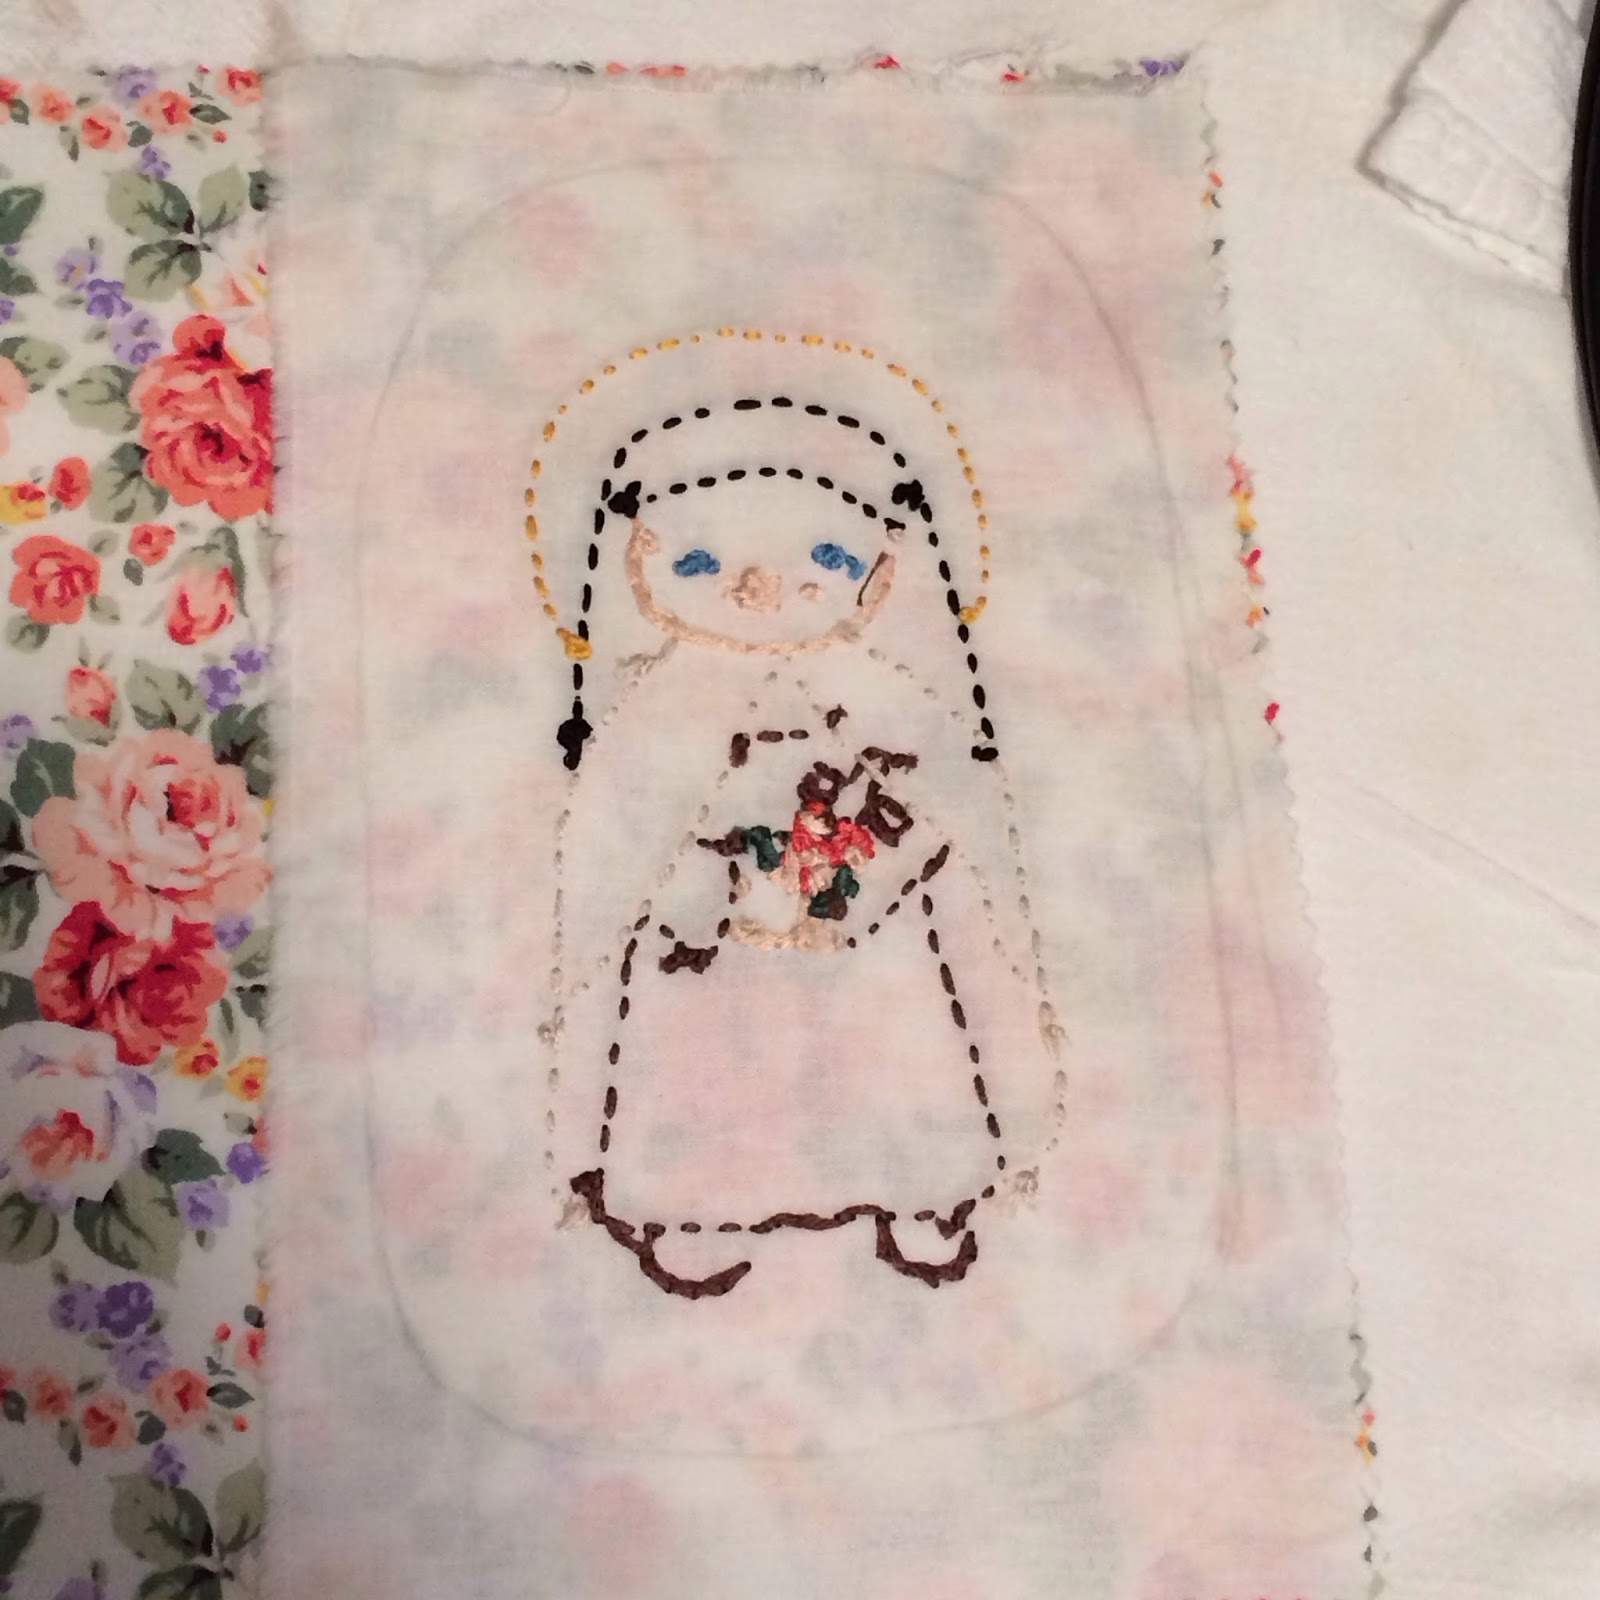
With a pencil, draw a line around your little saint, kind of a rounded rectangular shape that sits about an inch away from the outside edge.
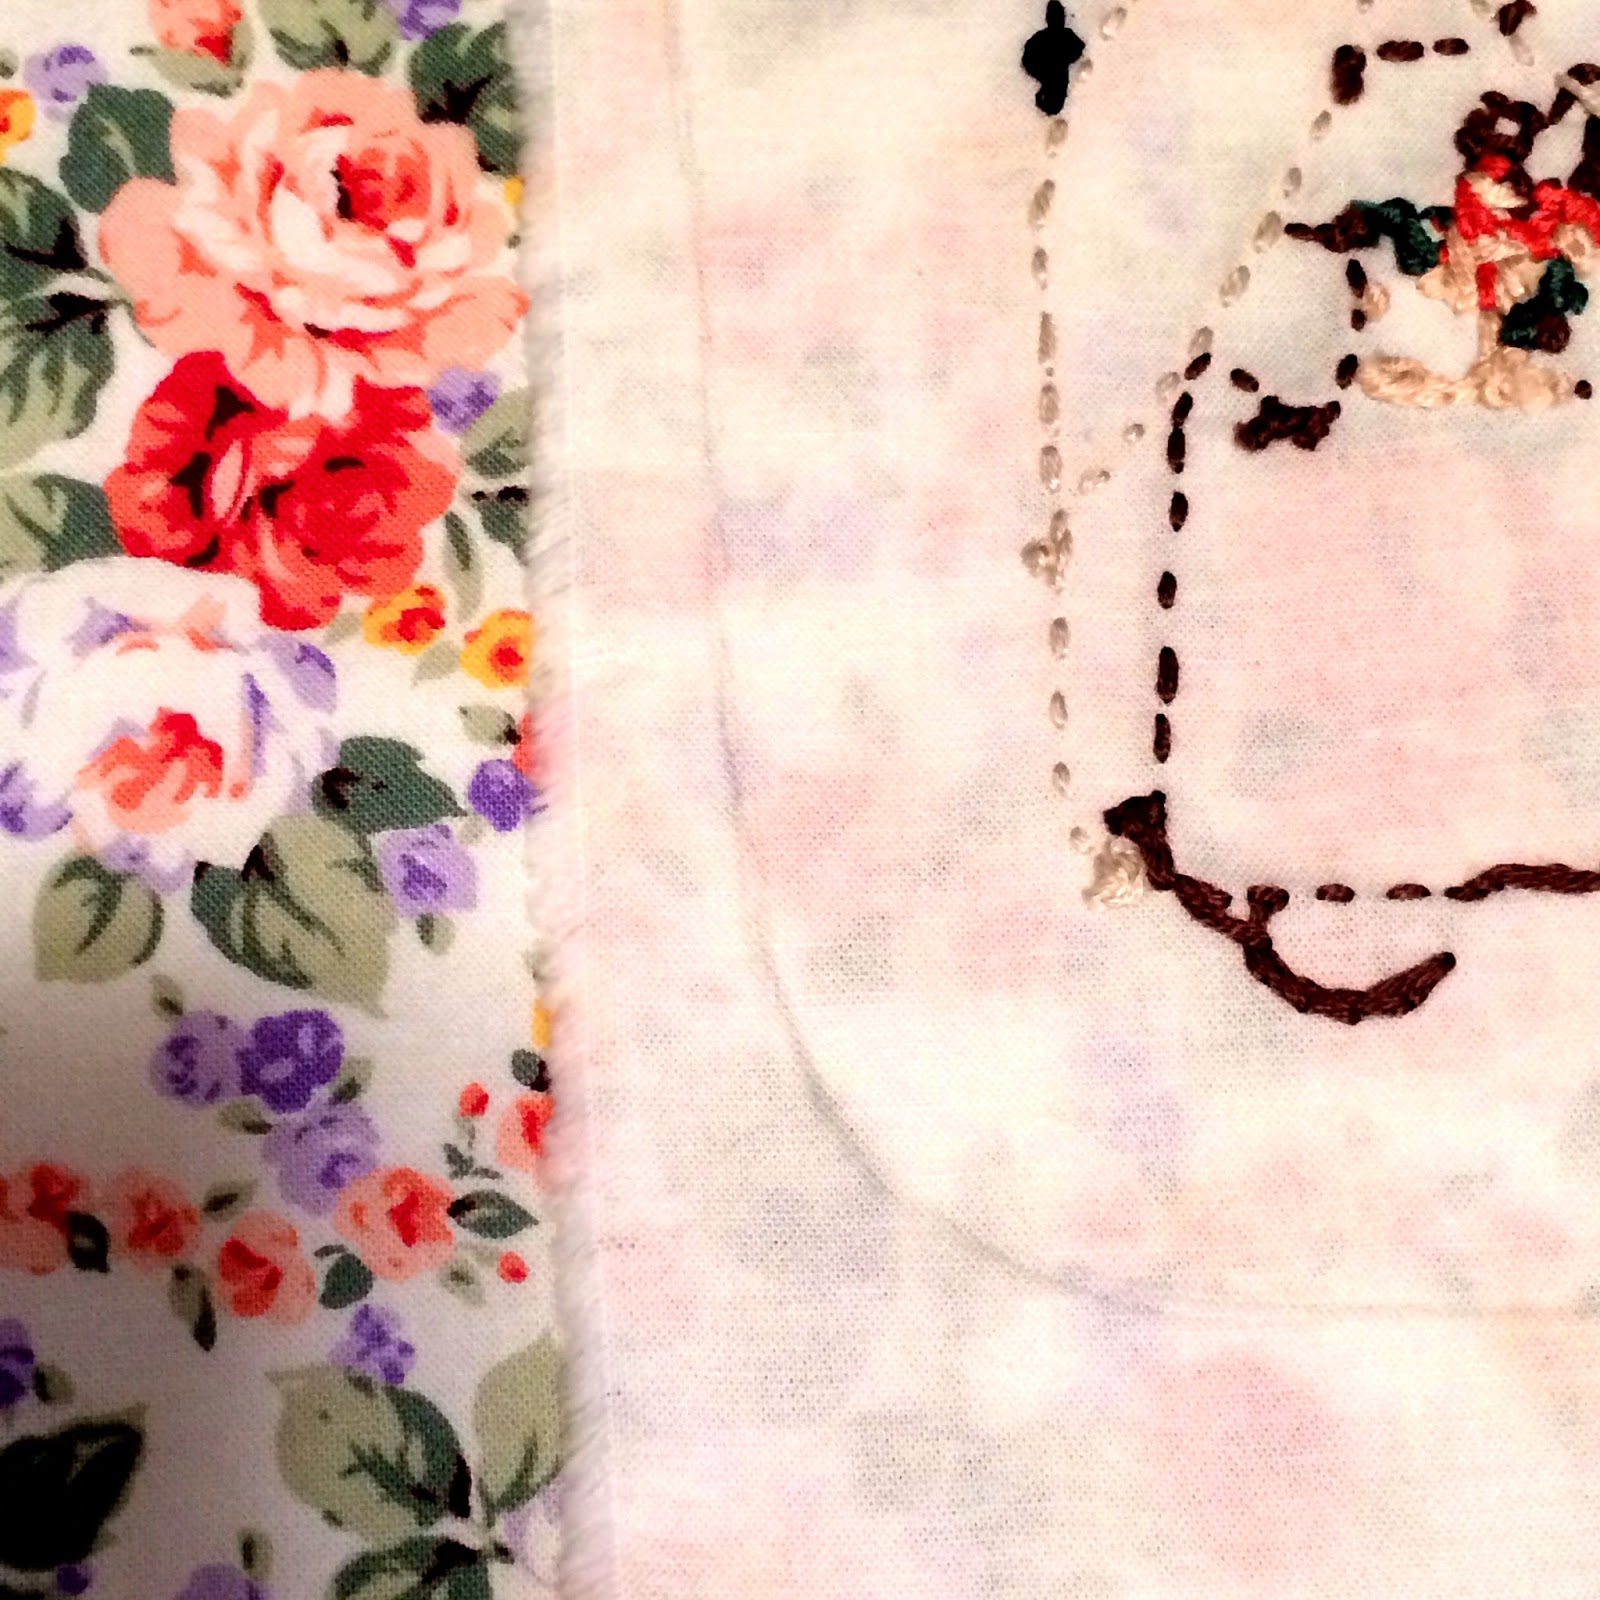
Here is a close up.
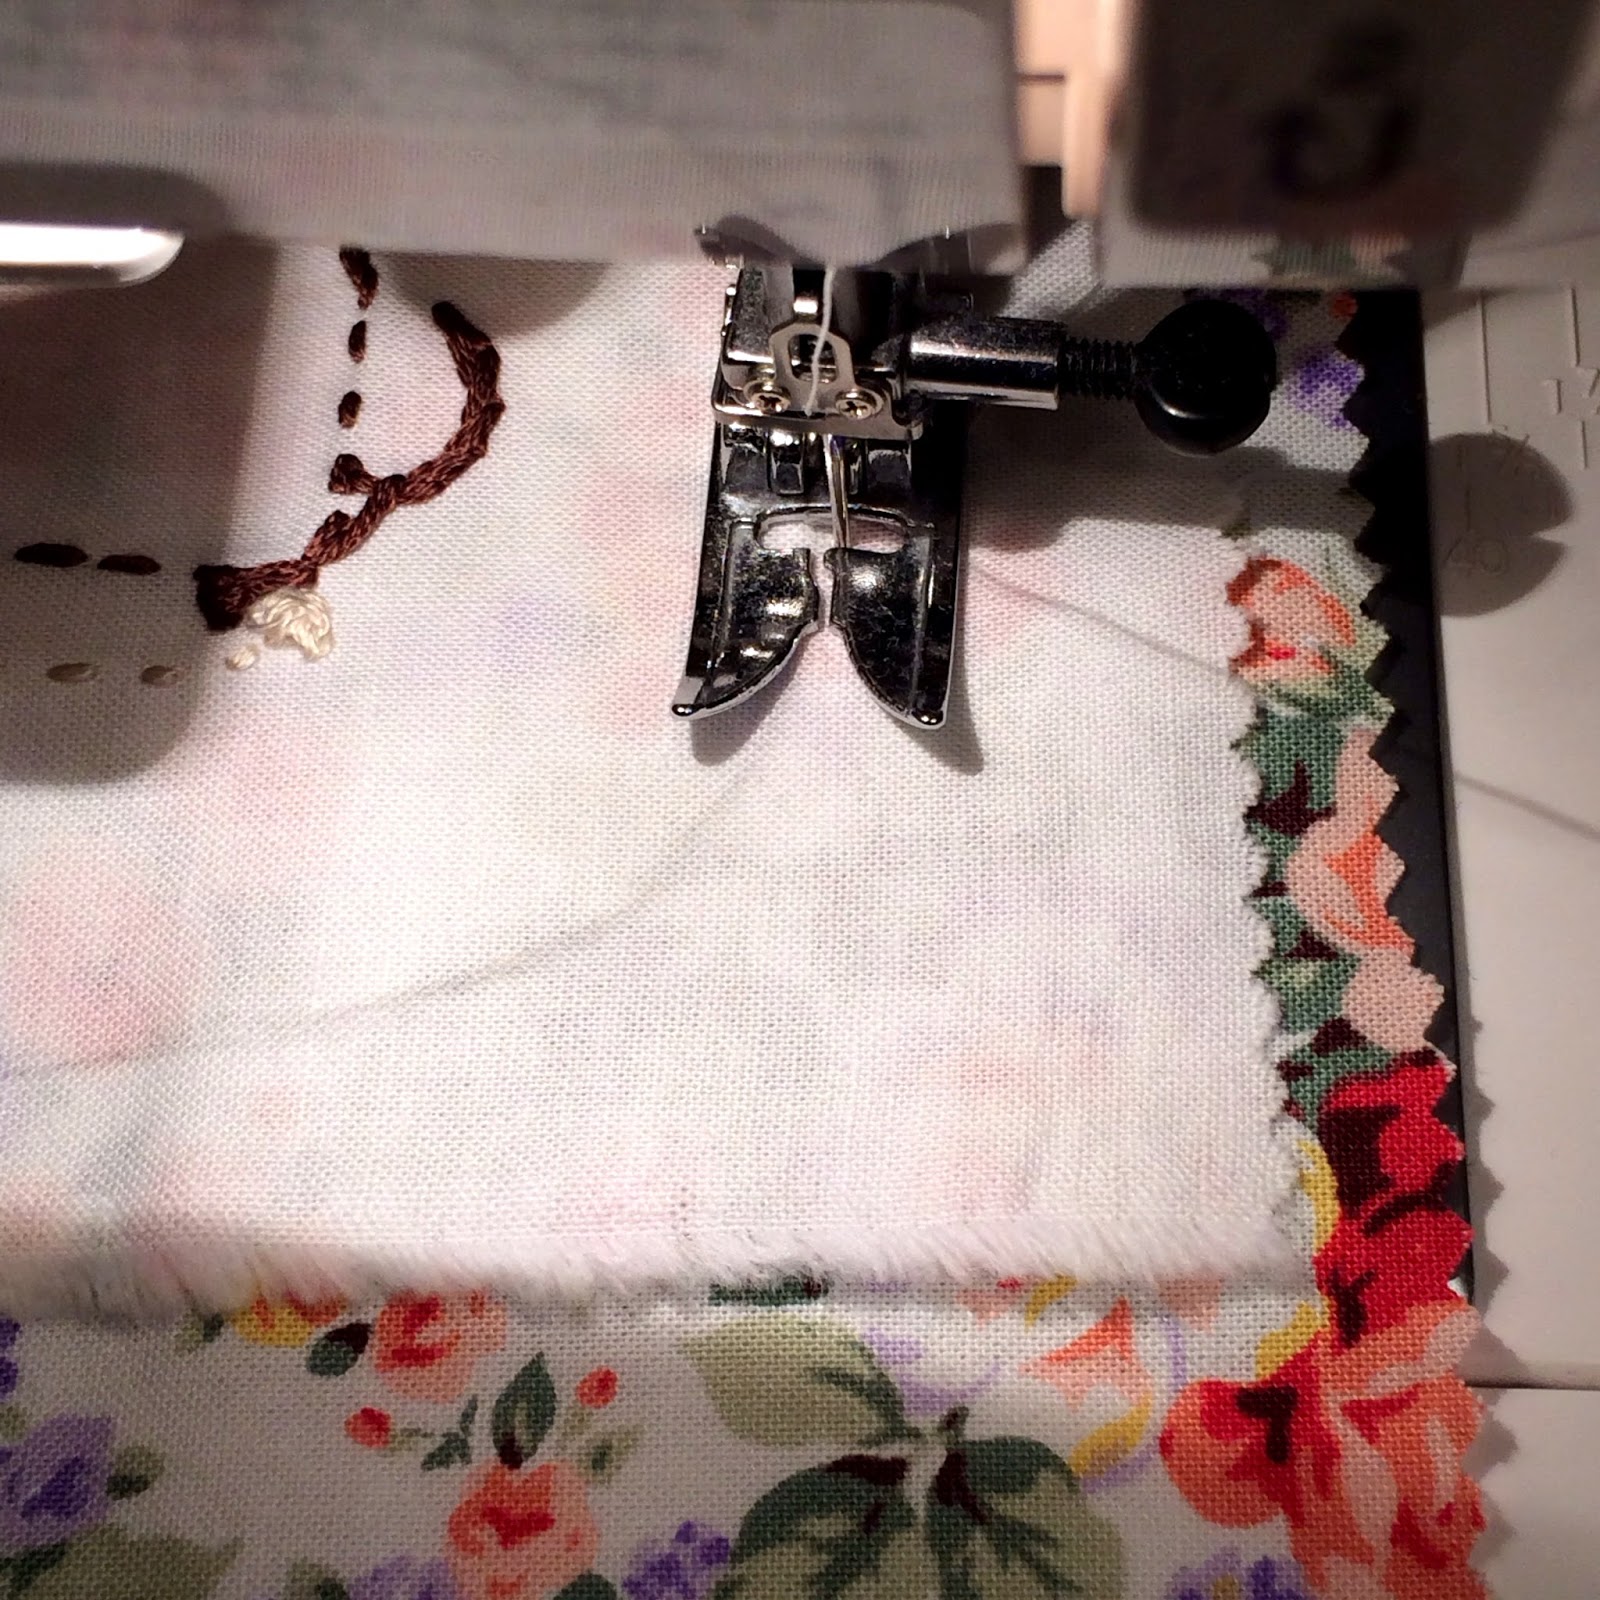
Stitch along the line you drew leaving open a two inch space at the bottom.
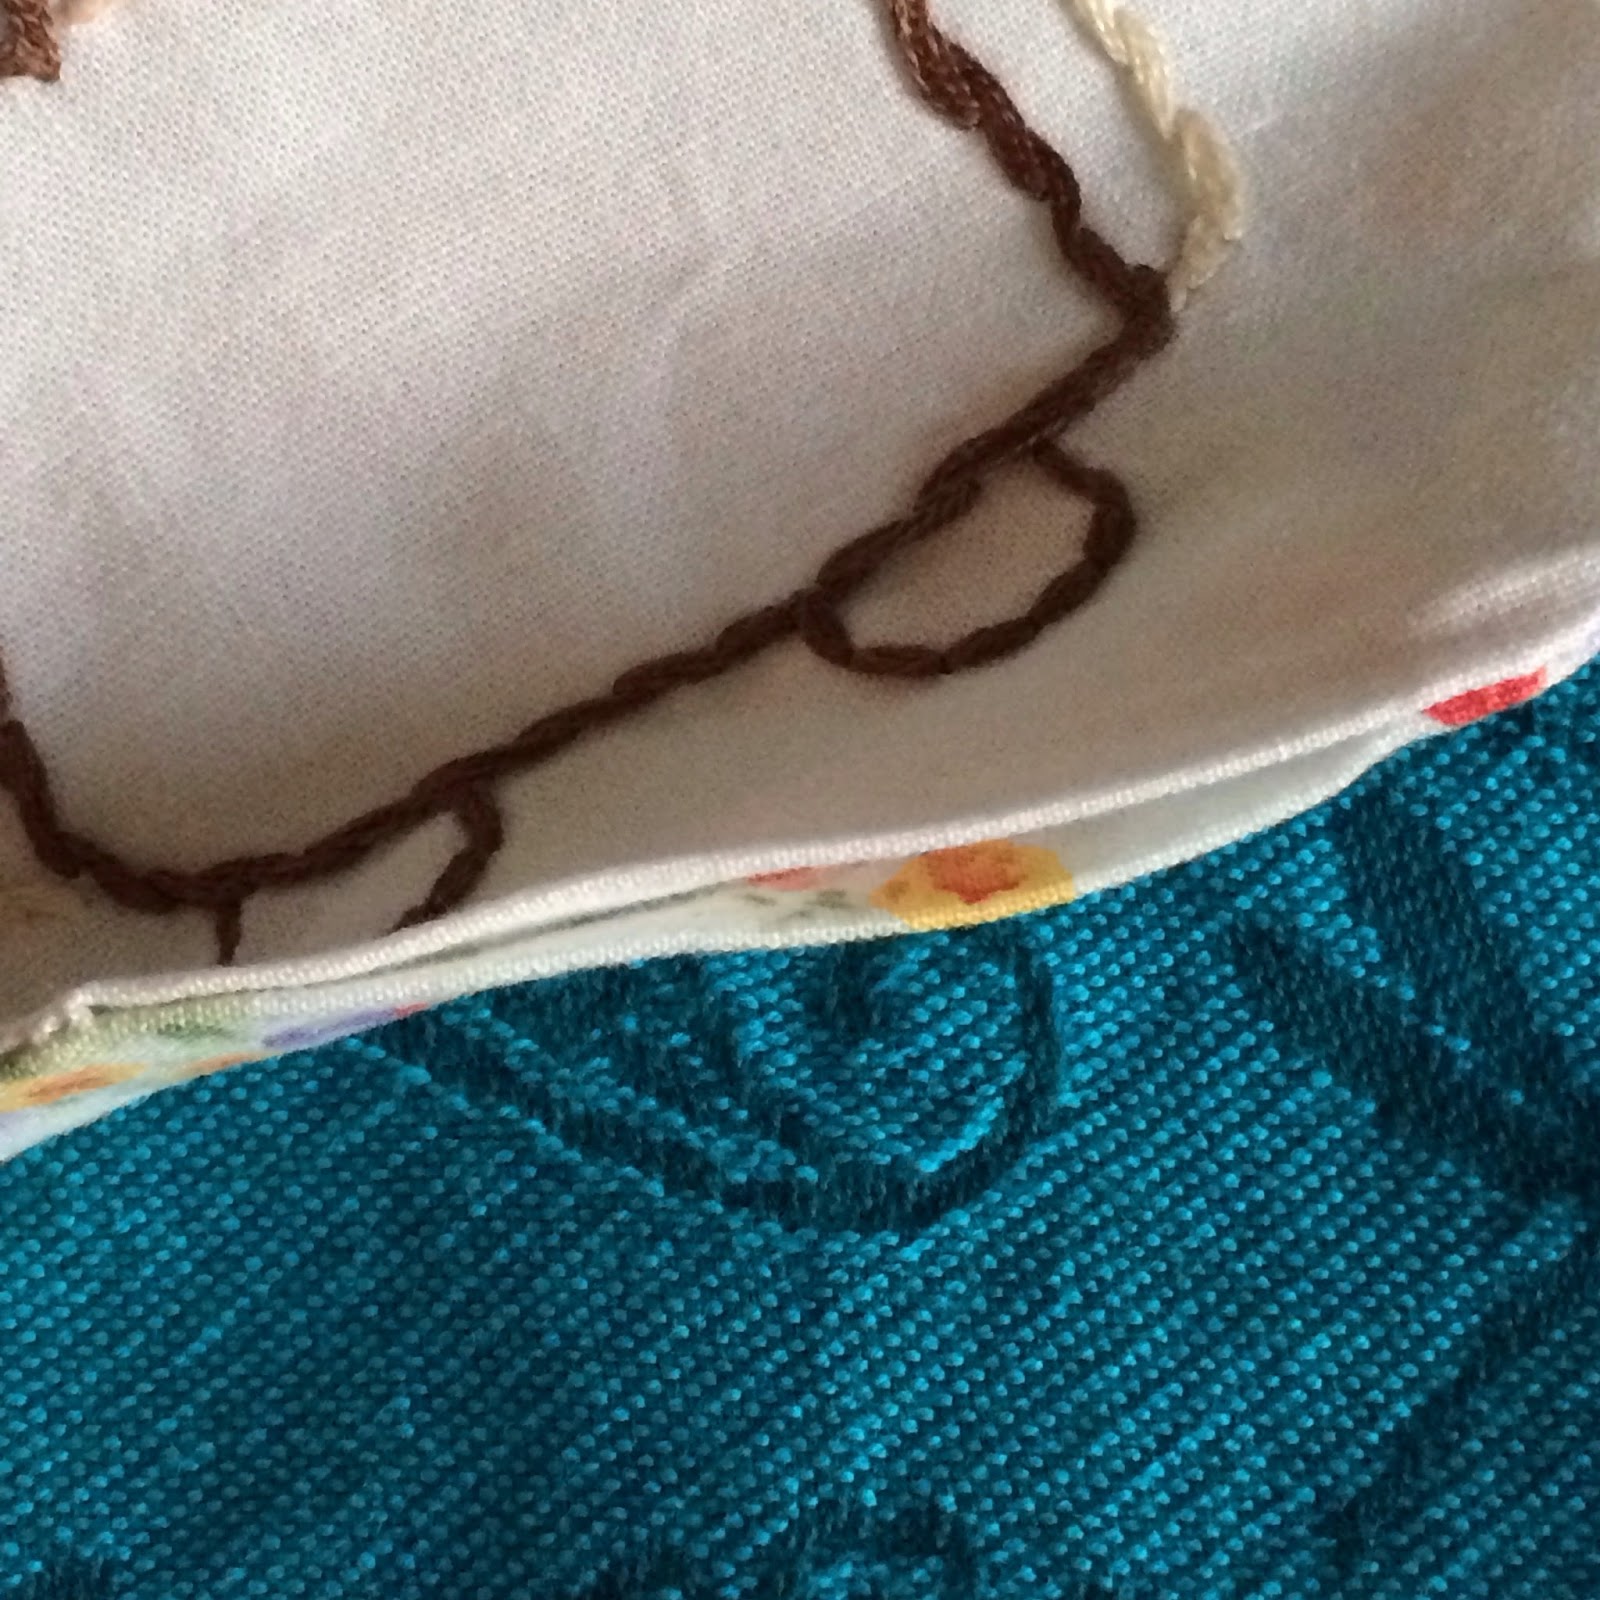
Here is the opening I usually leave open.

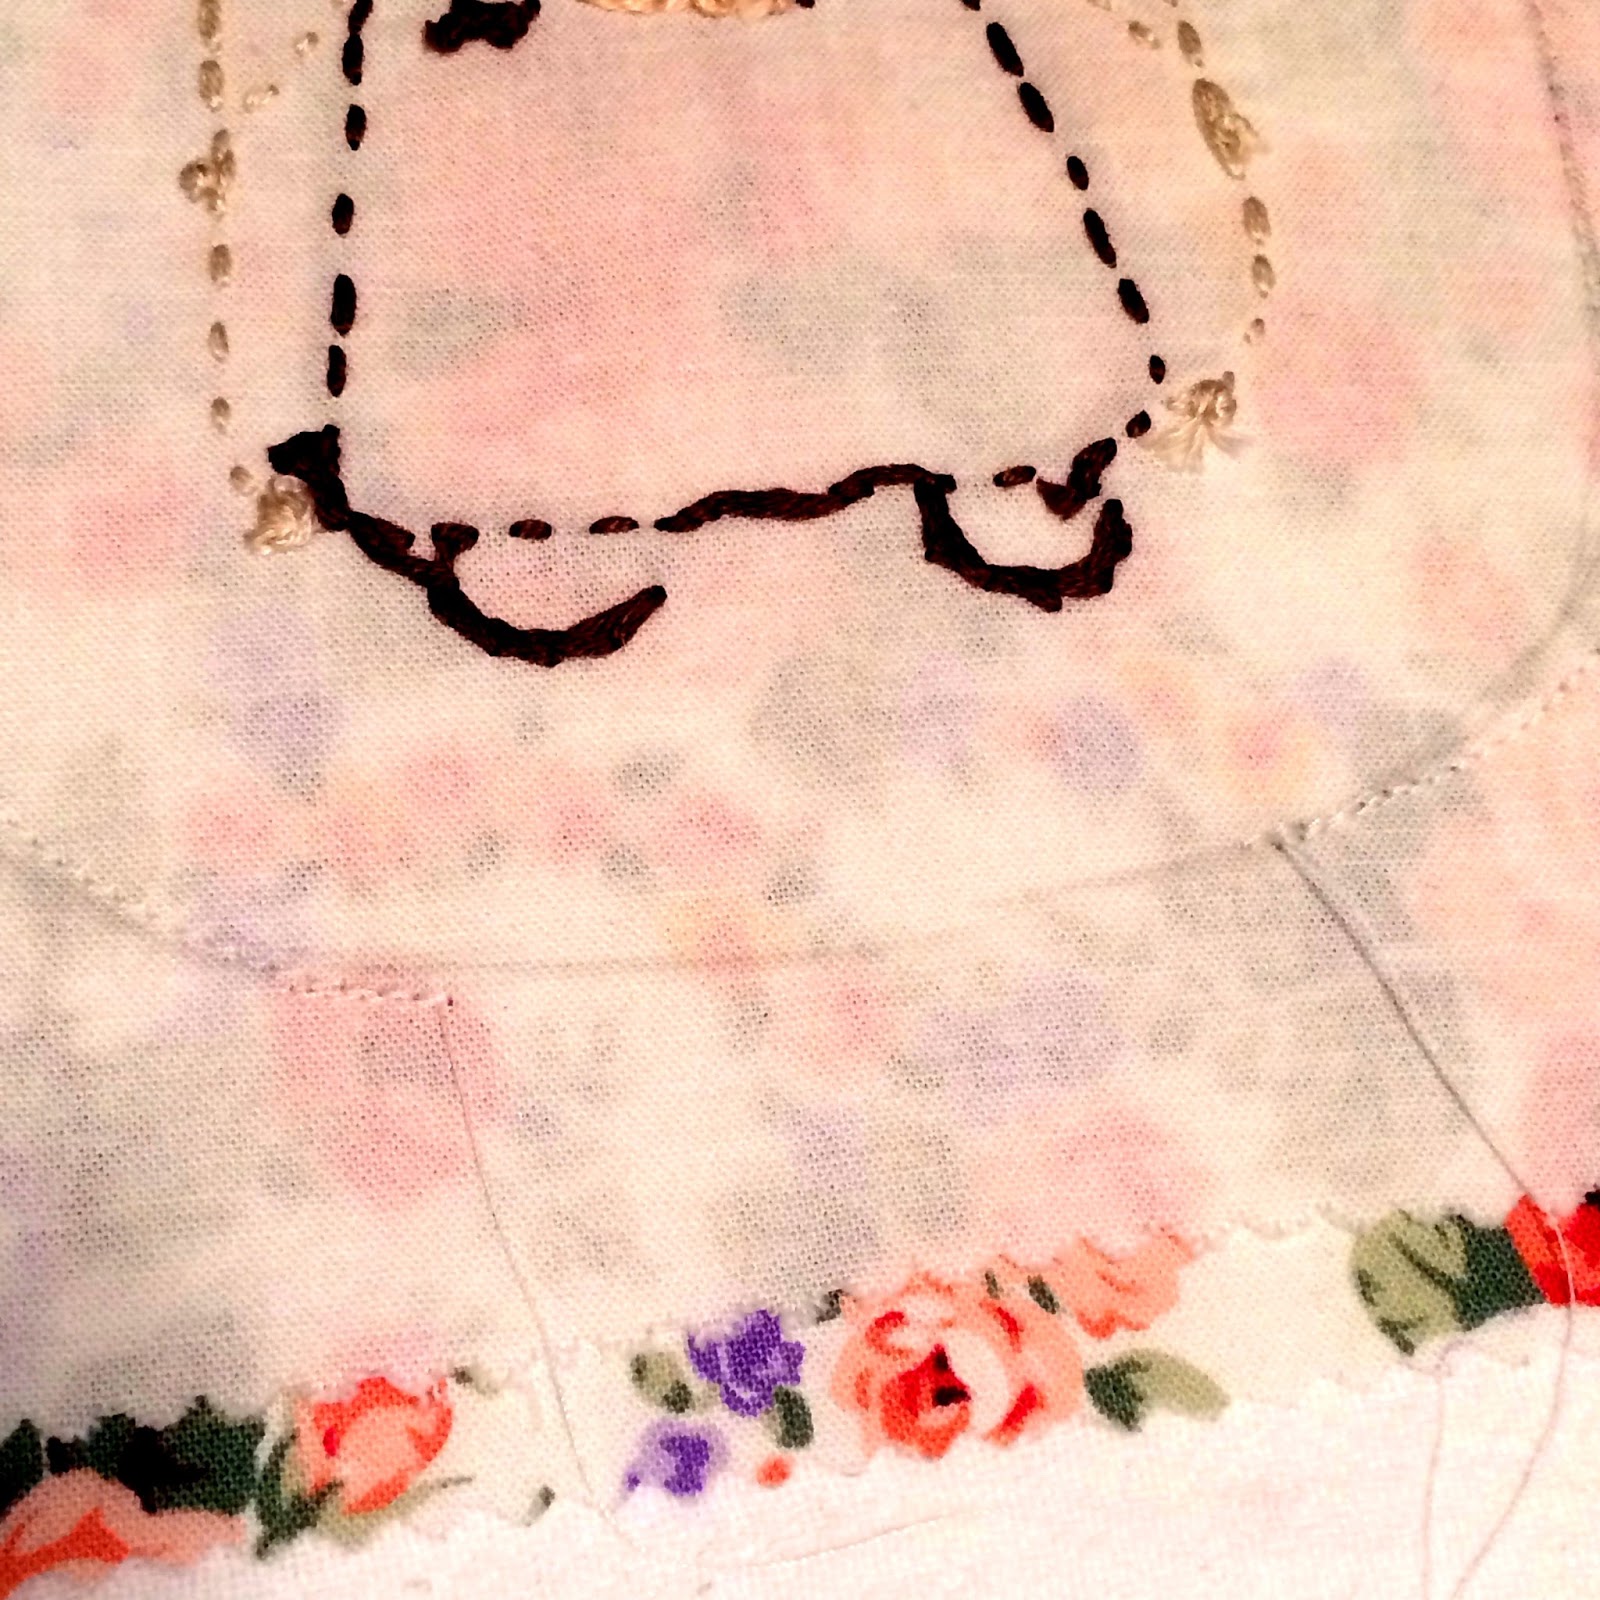
Trim the edge around. I like to use pinking shears but you don't have to.

Turn your little saint inside out and press the edges flat, especially the open edge.
It's much easier to stitch it closed if you have a nice, flat crease there.
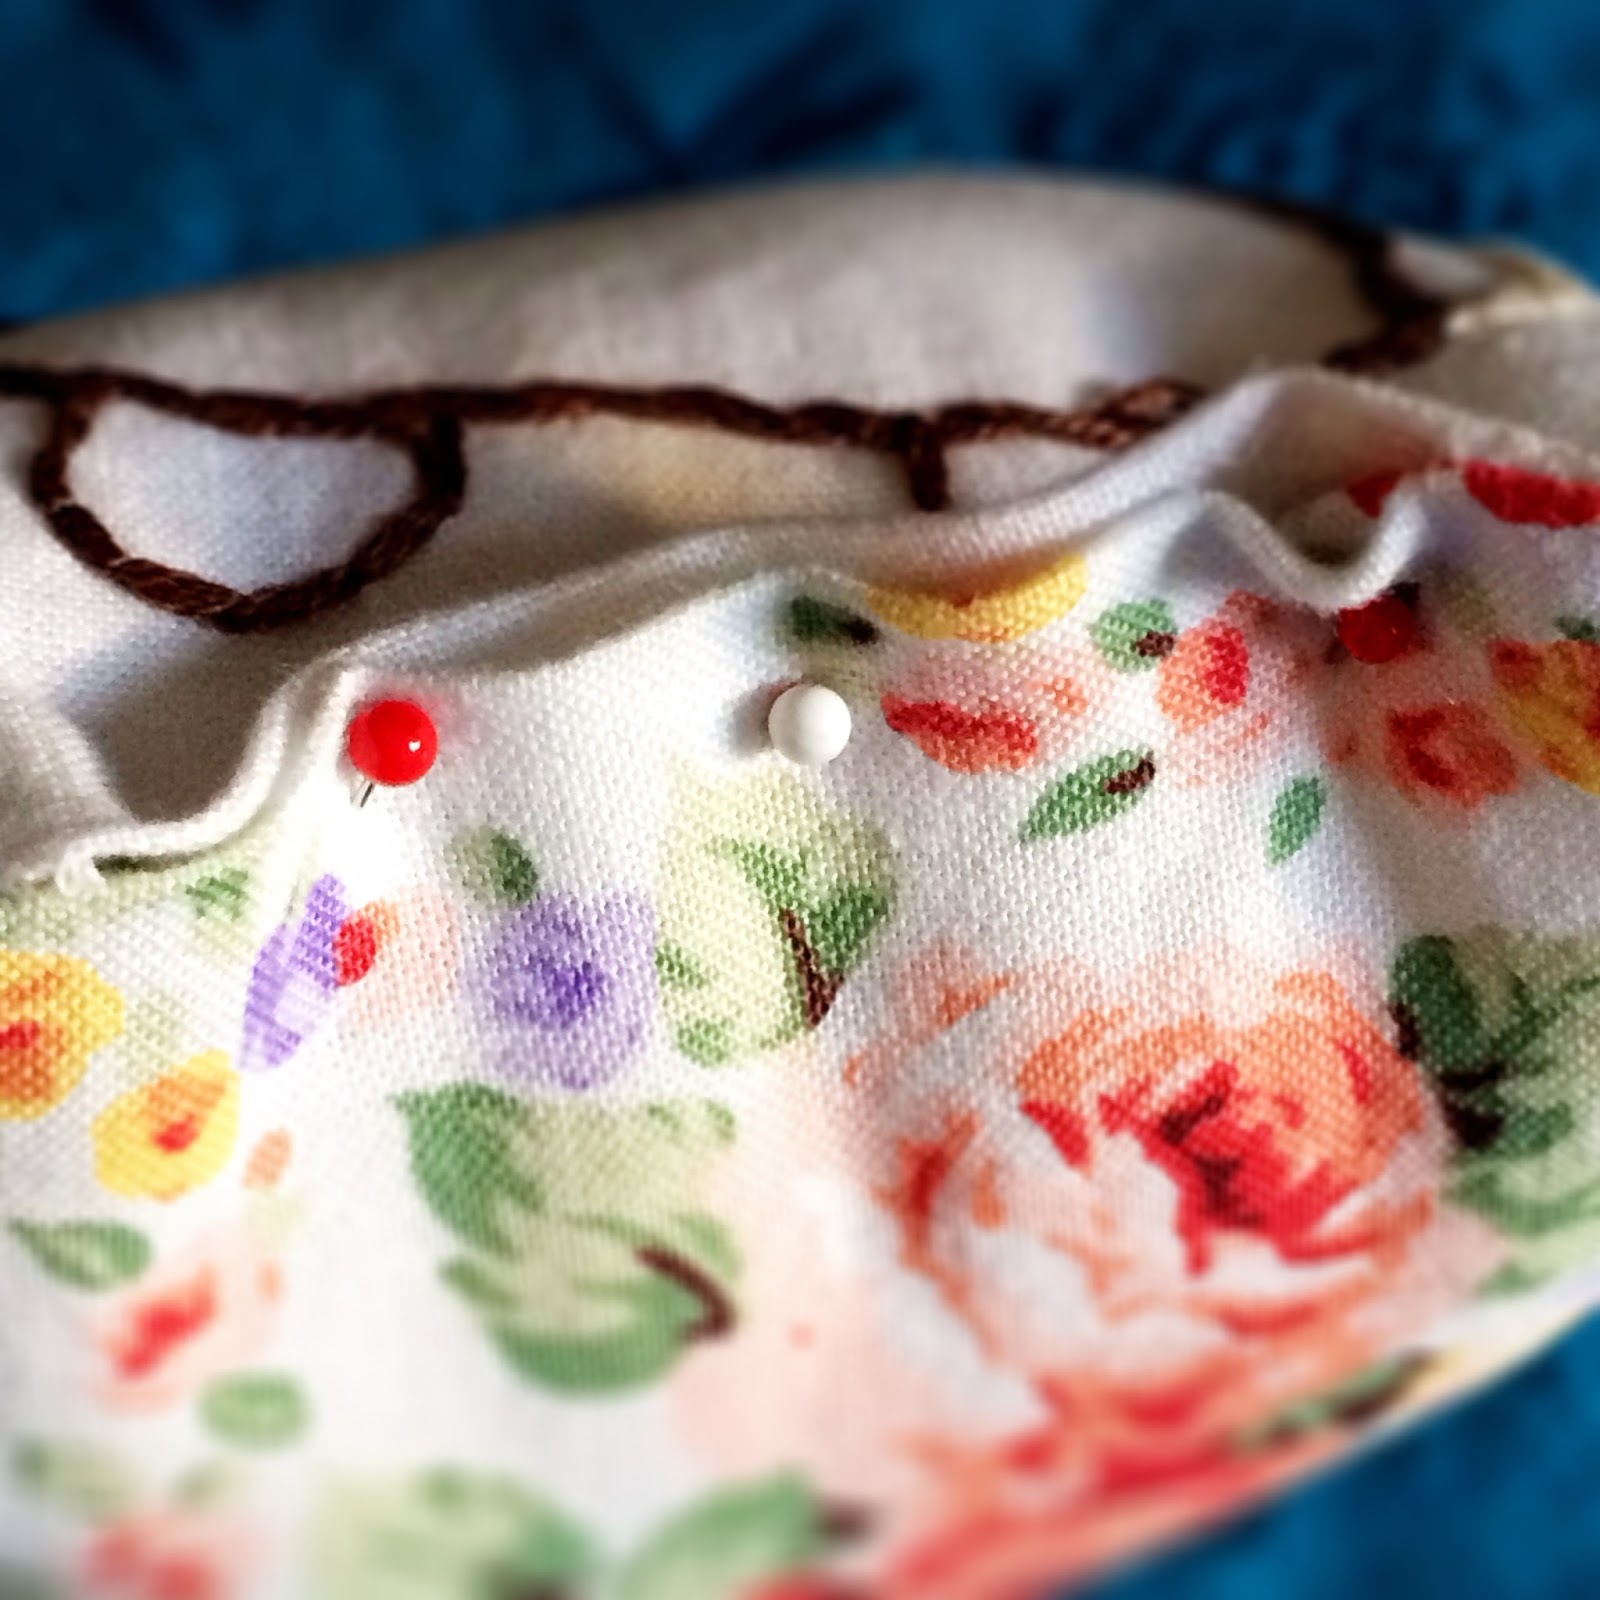
Stuff your little saint as much or as little as you want and then pin the opening closed. I like to use an invisible closing seam to close up the opening. You can see a tutorial of that here. It's the same stitch I use to close up my bandana blankets. Once that's closed, you are...
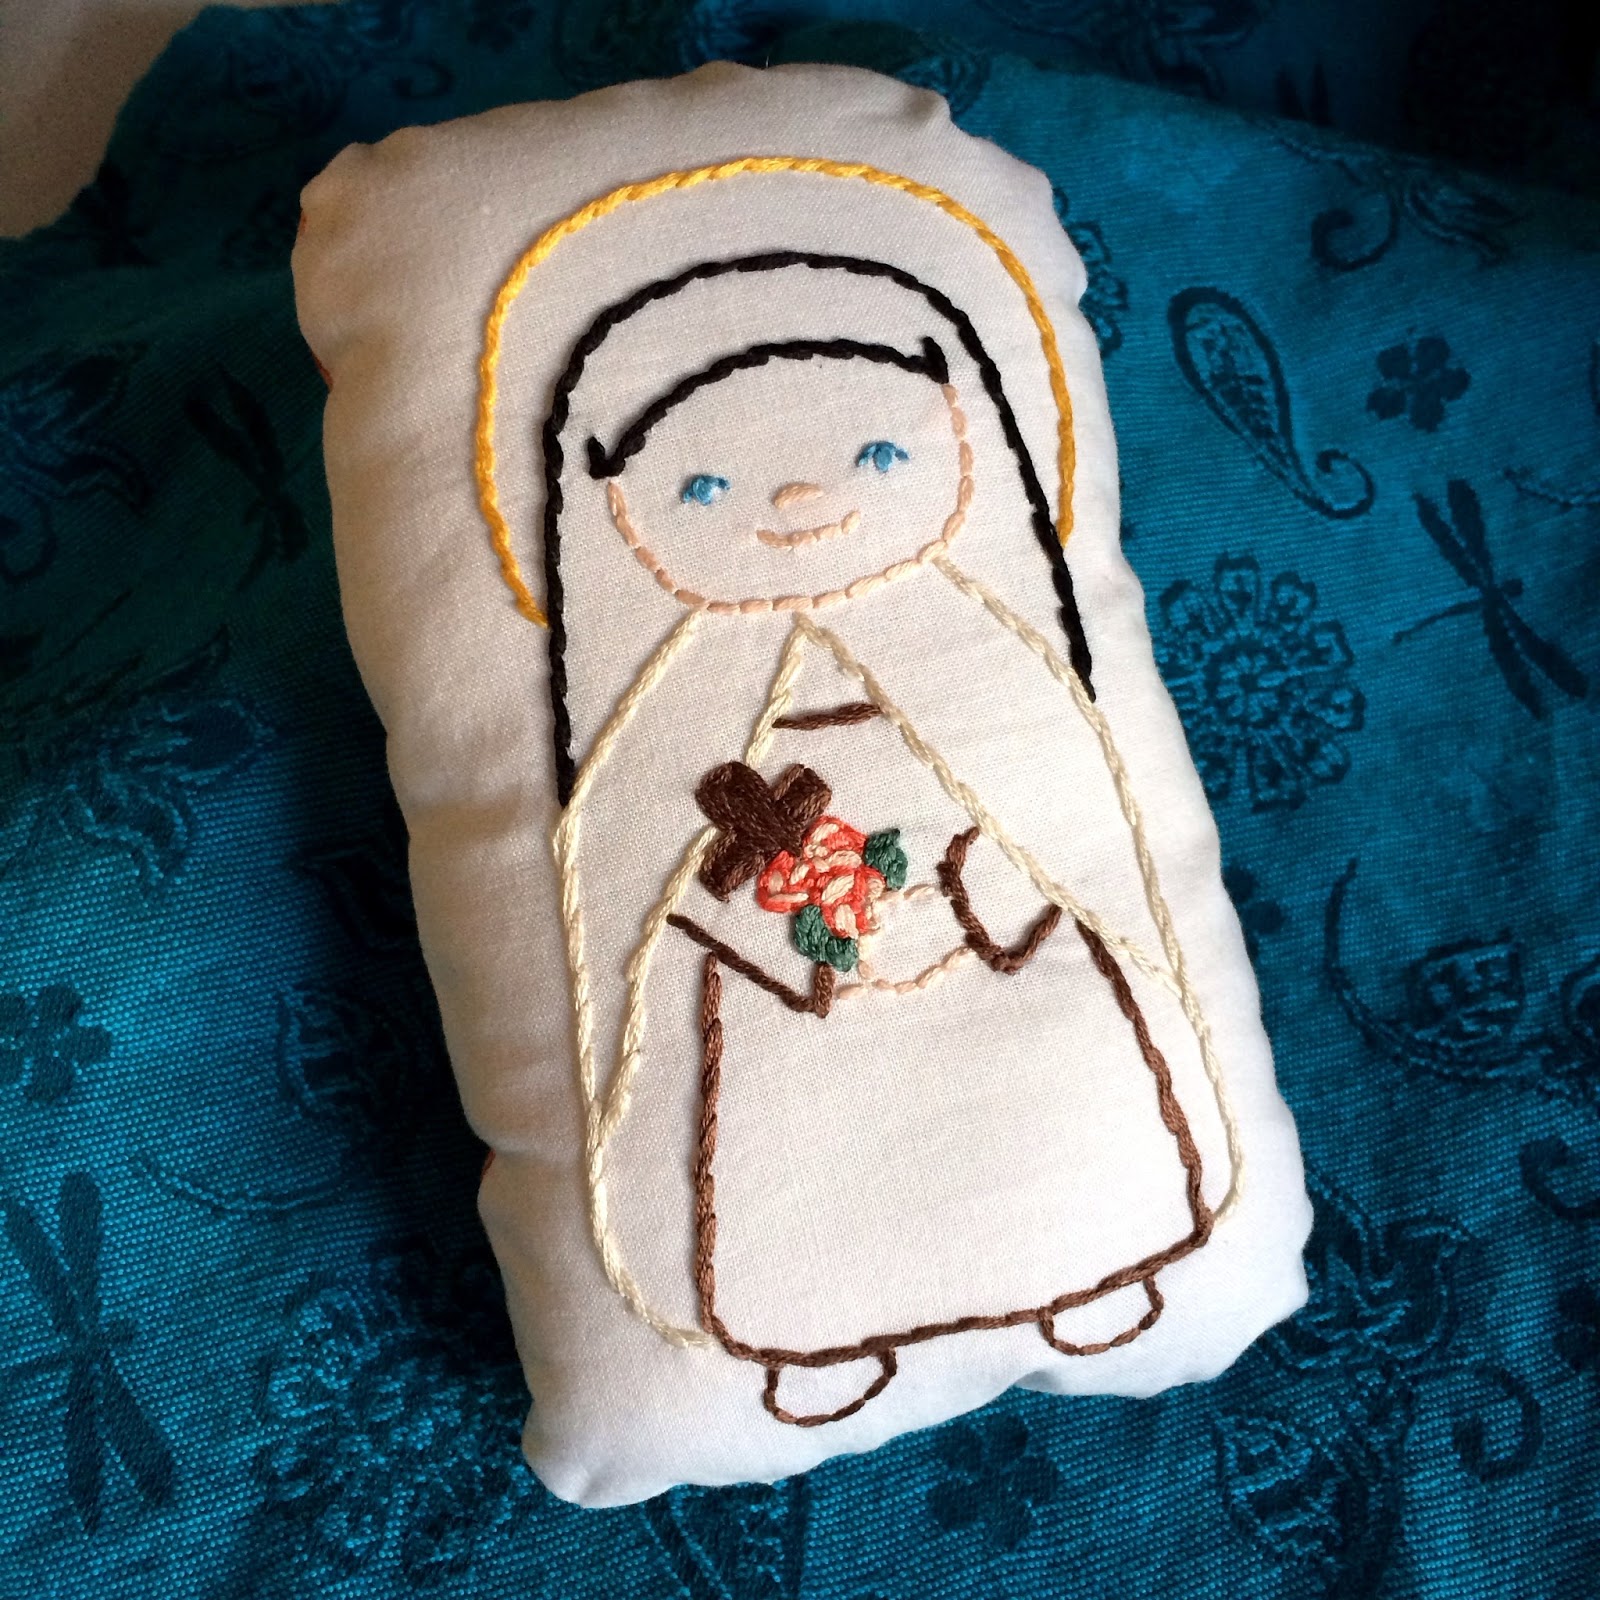
Finished!
Thank you for this, Charlotte!
ReplyDeleteSo cute!!!
ReplyDelete